“I CAN DO all things through Christ who strengthens me” Philippians 4:13
I’ve tried to do the wordy blogger thing…long drawn out stories about how I accomplished something, but that format just doesn’t work for me. My time is valuable and so is yours. I decided that the only way I’d make this work was to simplify my process. My intentions are to post projects, décor and simple design inspiration. If you like anything I post, I’ve tried to make shopping easy by including the links. As an Amazon Affiliate, I earn a commission from qualifying purchases. I get commissions for purchases made through links in my posts.
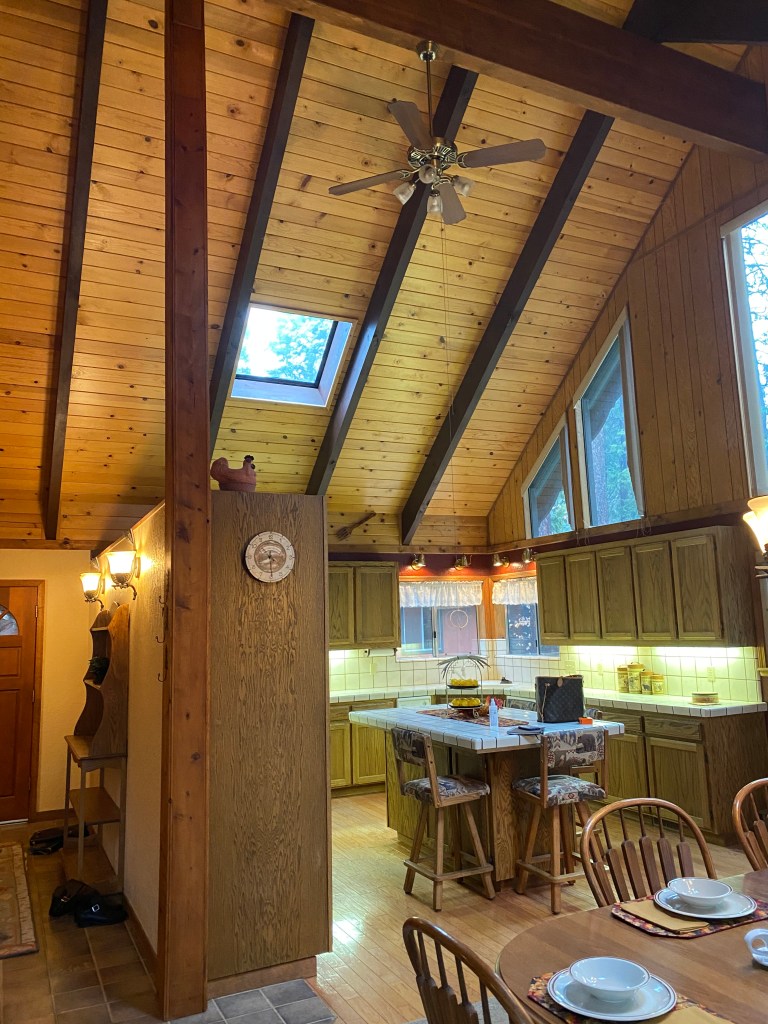
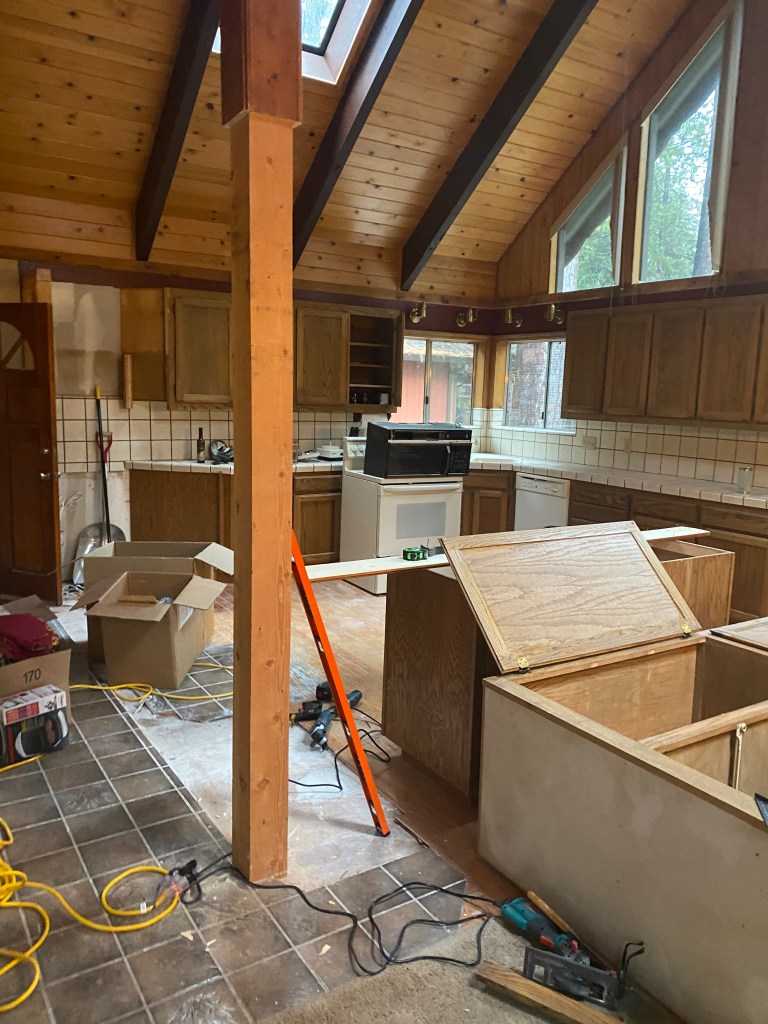
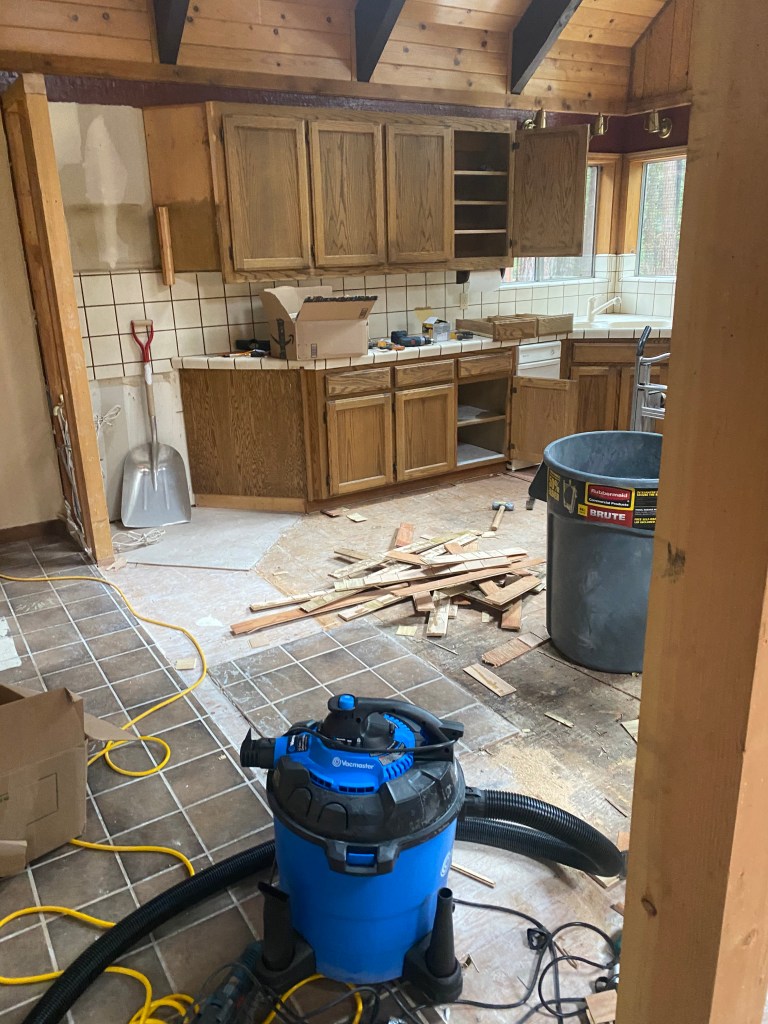
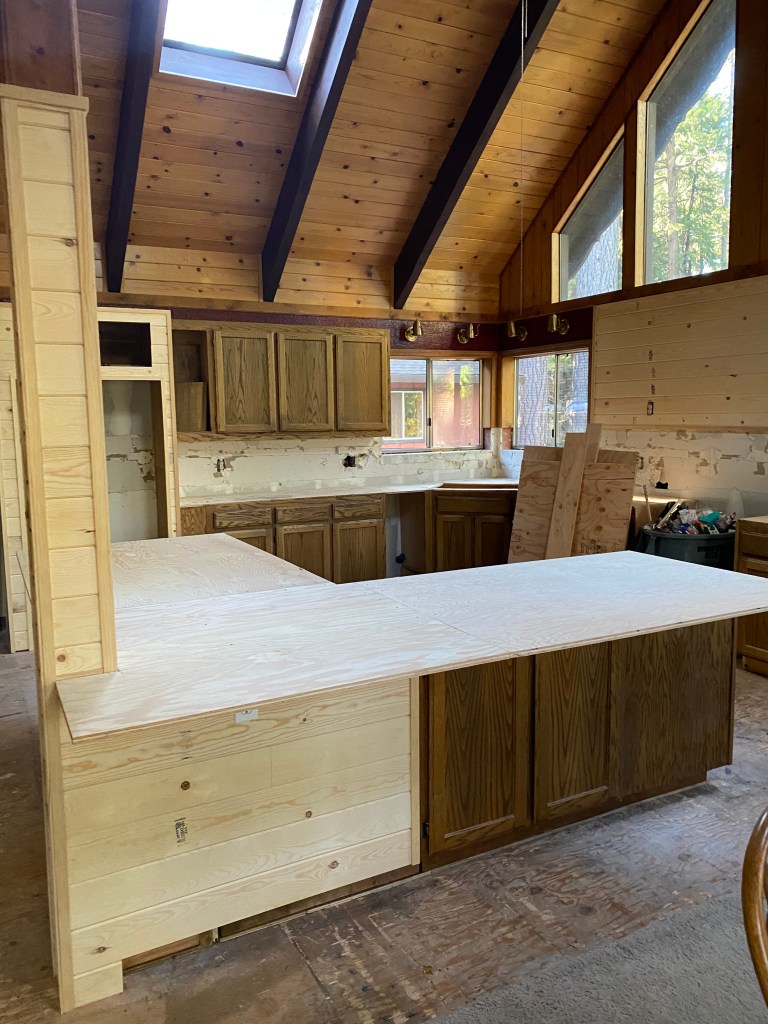
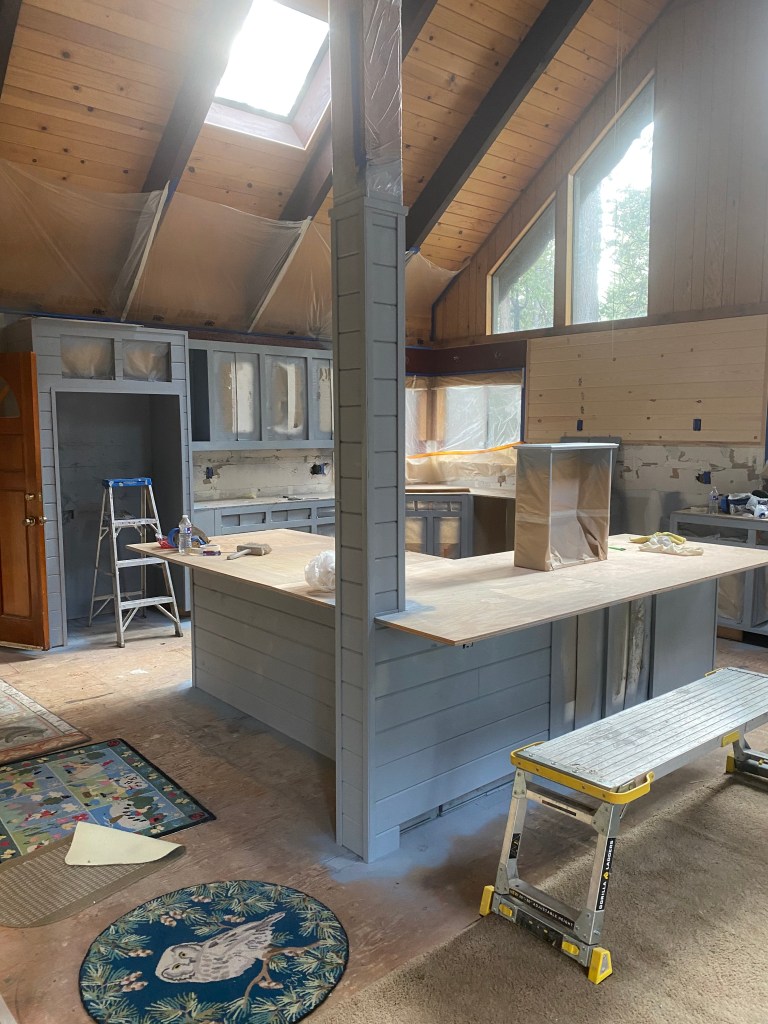
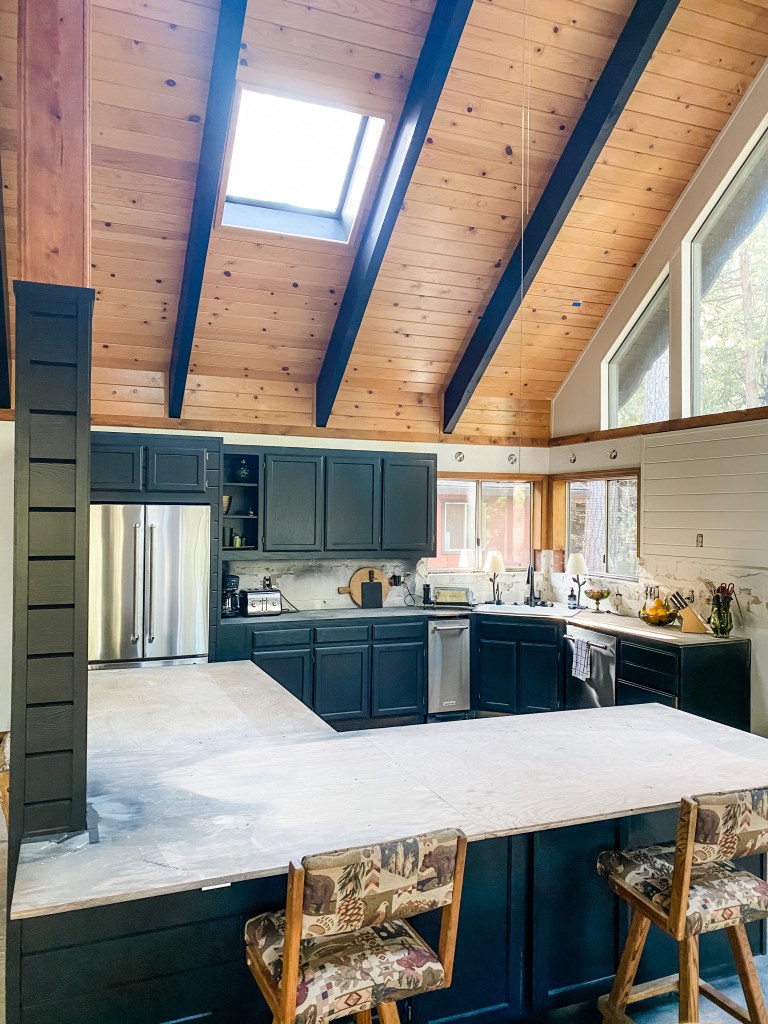
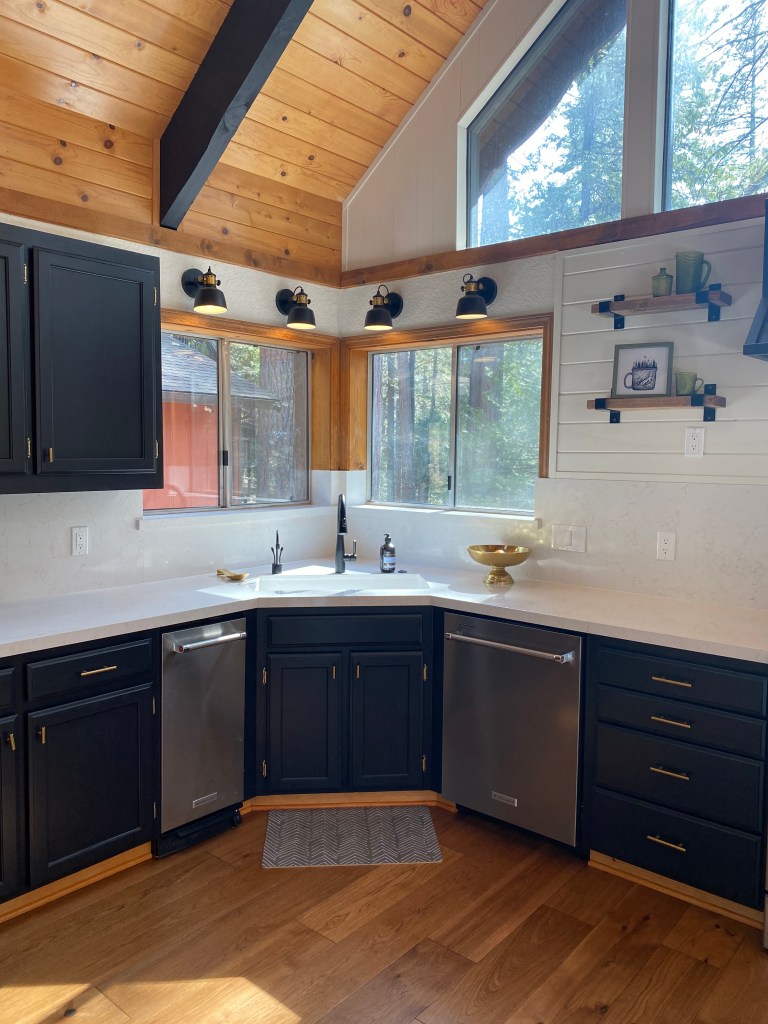
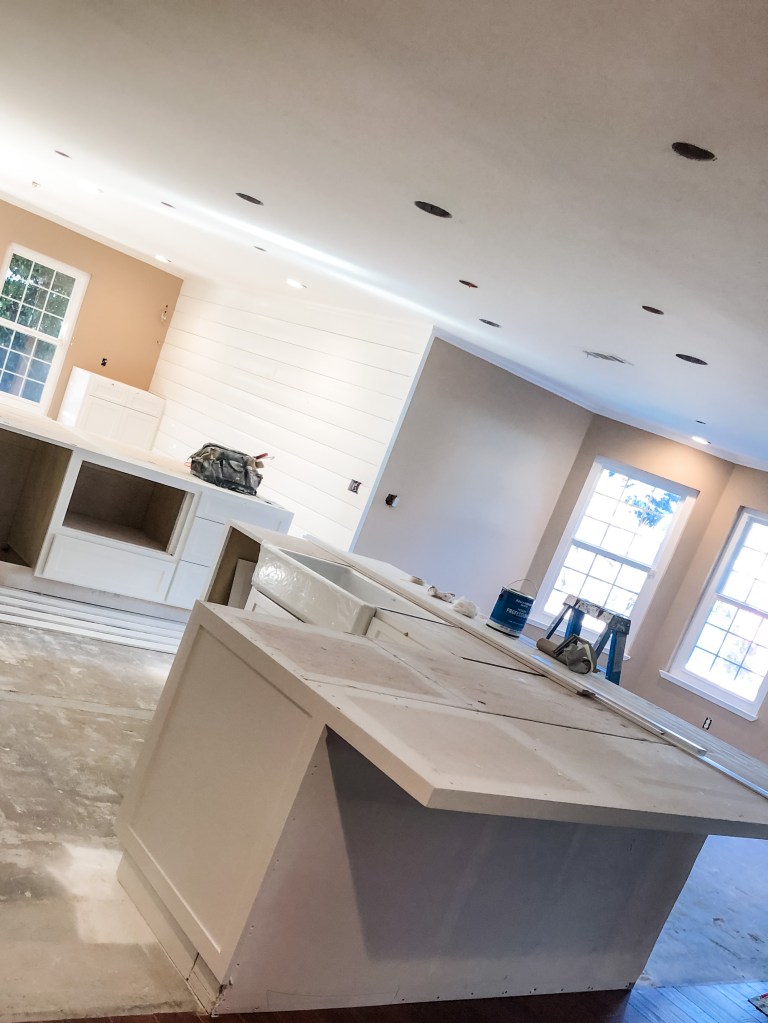
We dug into the kitchen right away! We removed a wall, gutted the contents, relocated appliances, painted, replaced finishes and put together a brand new kitchen that we absolutely love! Below, you will see some before and after photos of this project. I’ve included links to items you may want to access…
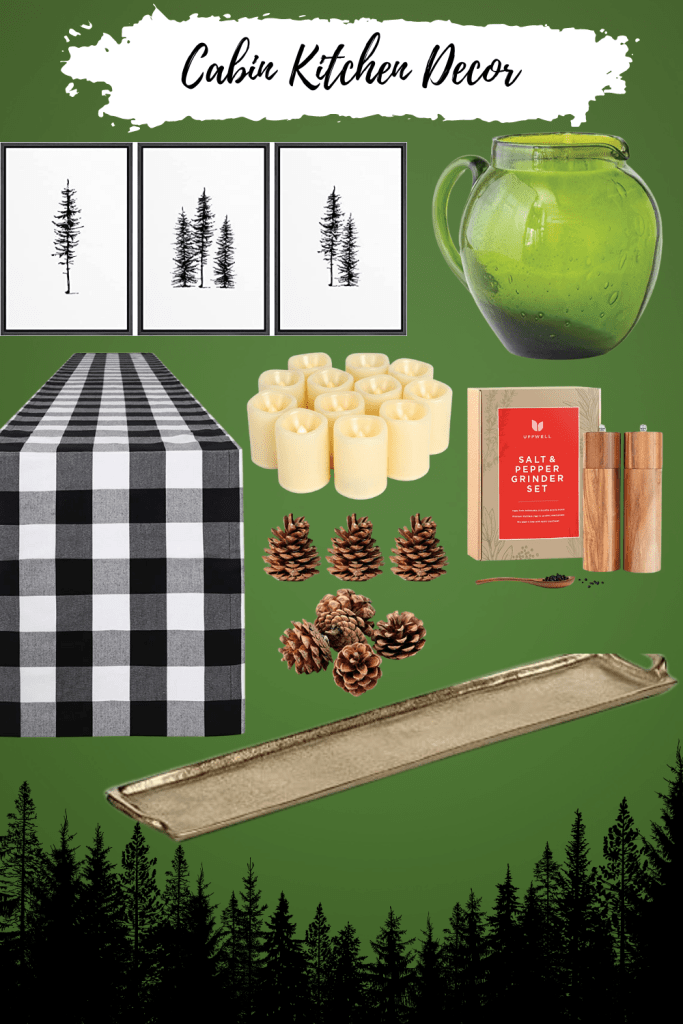
I love using natural elements in my design. I was lucky enough to be able to hunt for pinecones on our property along with manzanita tree branches and more. I tracked down some beautiful vintage green glass on Etsy and eBay, as I prefer to mix the new with the old. Amazon also came in handy with some of the new finishing decor elements. These unique finds created a beautiful finished product. Recreate this cozy cabin look with the inspiration board below.
Once our kitchen project was completed, it was time to put things back. Considering that our kitchen was a complete overhaul, I couldn’t just put the old stuff back in and consider it a done deal. Decor from the past didn’t fit and I wasn’t about to force it.
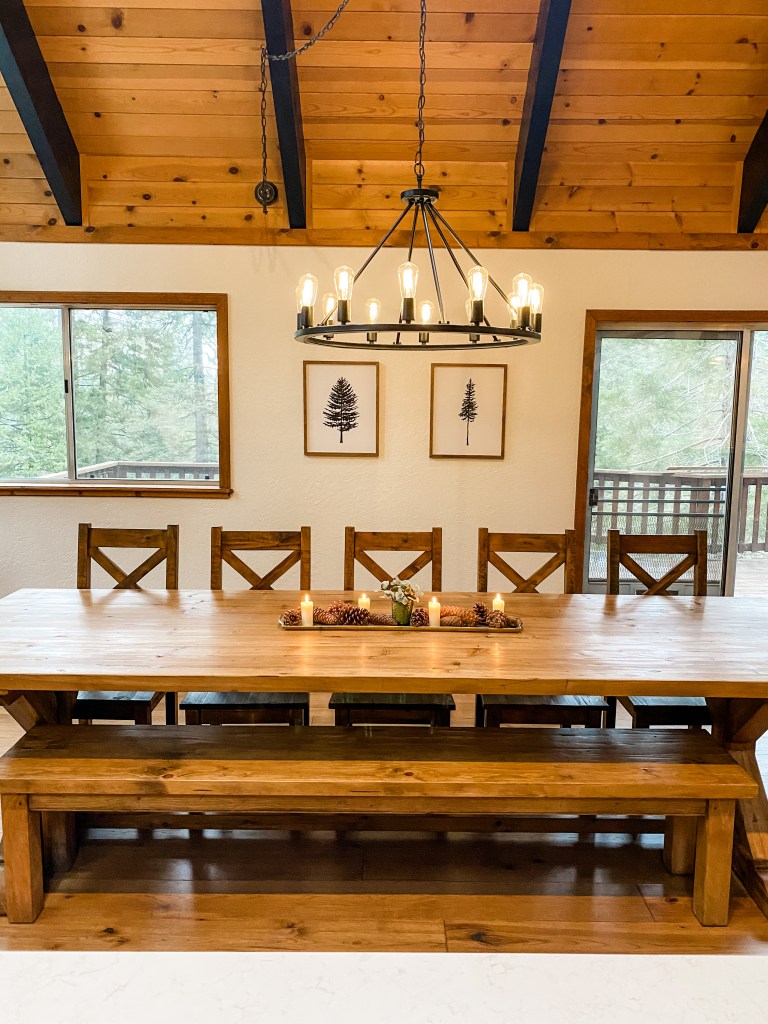
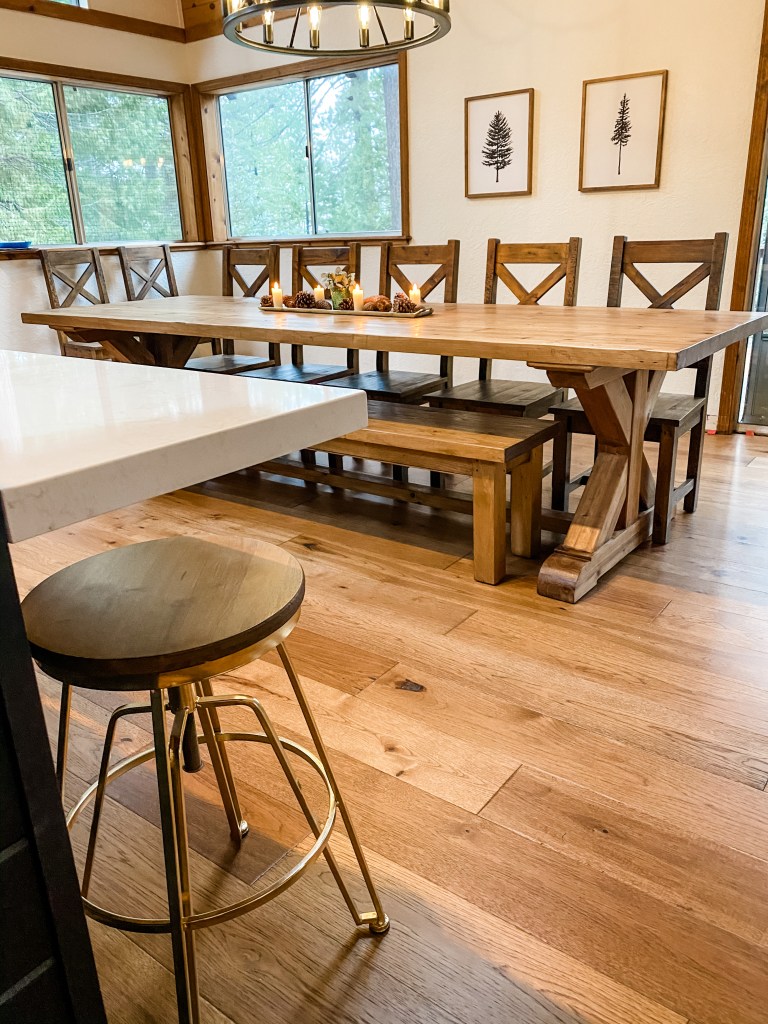
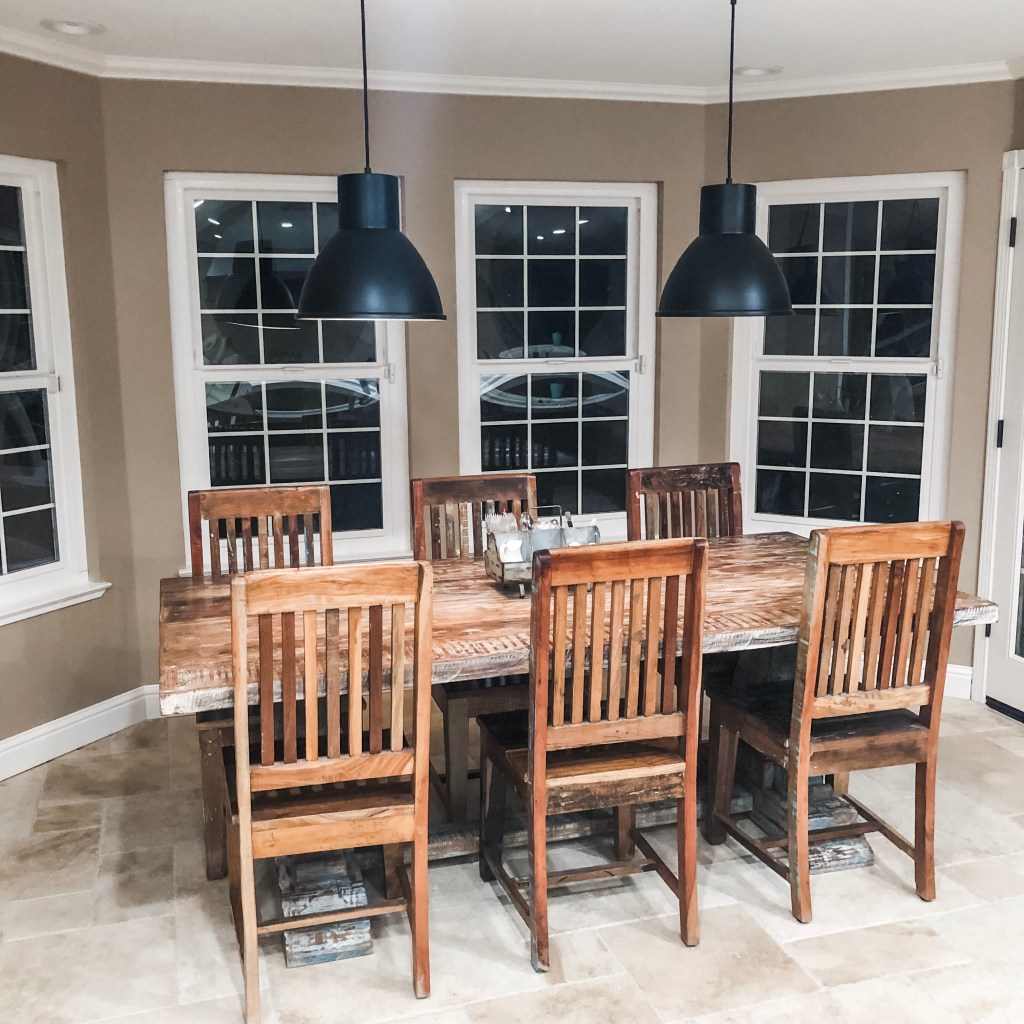
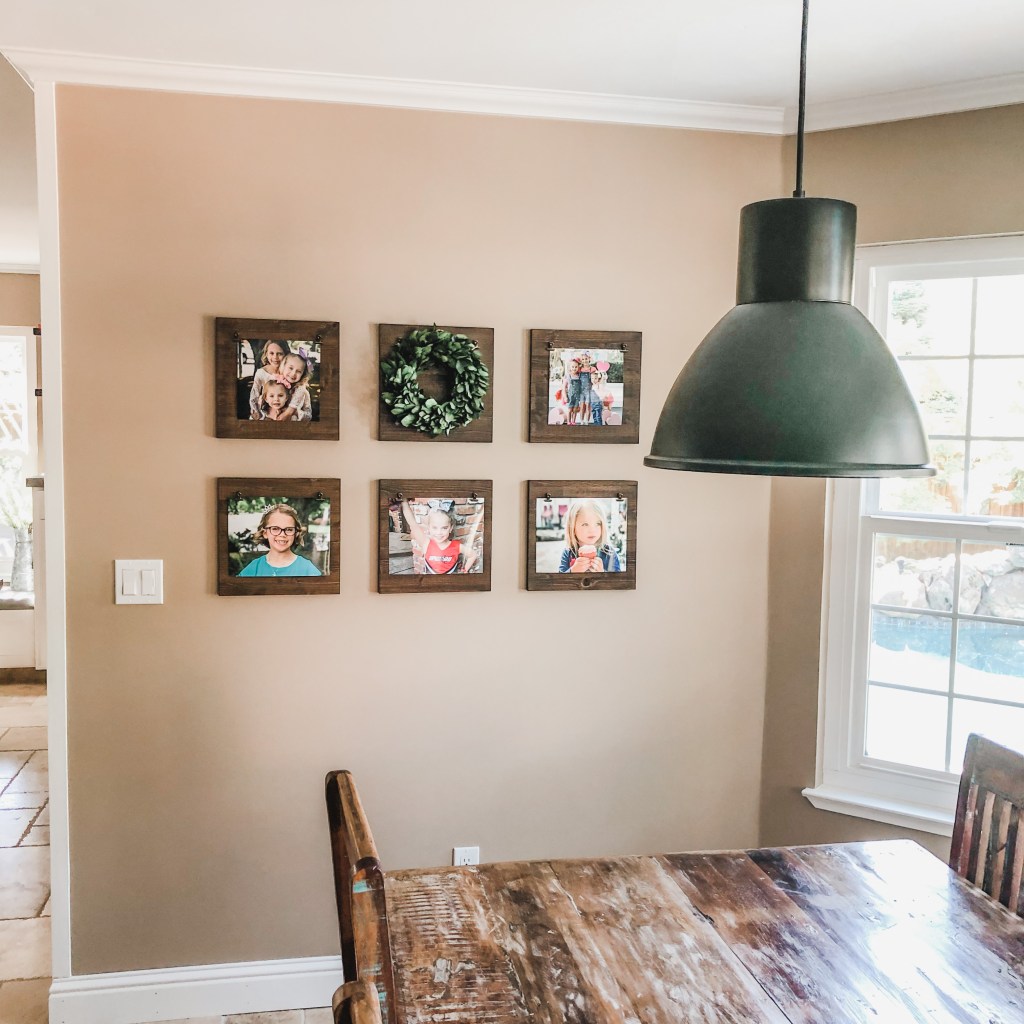
Our new kitchen seats 25 comfortably. Yes, 25! Amazing! We have filled this space with family and friends and it is so warm, open, and functional. I literally could not be more in love with our new space. One of my favorite spots is our eat-in nook. It’s where our family table resides and where we spend many evenings talking about our day and sharing a meal. We have a table for 6. We are a family of 5, but there’s always room for one more.
The footprint of the nook did not change in the remodel. The shape remained the same and even the table is the same. We replaced the lights and we were about to put back an old door that we used as decor back on the wall, but it just wasn’t right. I love the door, it’s old, rustic and a little mysterious. I’m sure it had a much more exciting previous life than the one it had been living on our nook wall. When it came time to re-install the door, I put a stop to it. This particular space hadn’t changed, but the feel of the rest of the kitchen had.
After much thought, I decided that it was time to make the space more personal. I wasn’t quite sure how I’d accomplish that, but I knew we’d come up with something. I have a few areas in the house with family photos, but only one spot downstairs. I thought adding some pictures would personalize the space and bring a family feel into the area that we spend so much family time in. I wasn’t interested in hanging standard frames, so it was time to think outside the box.
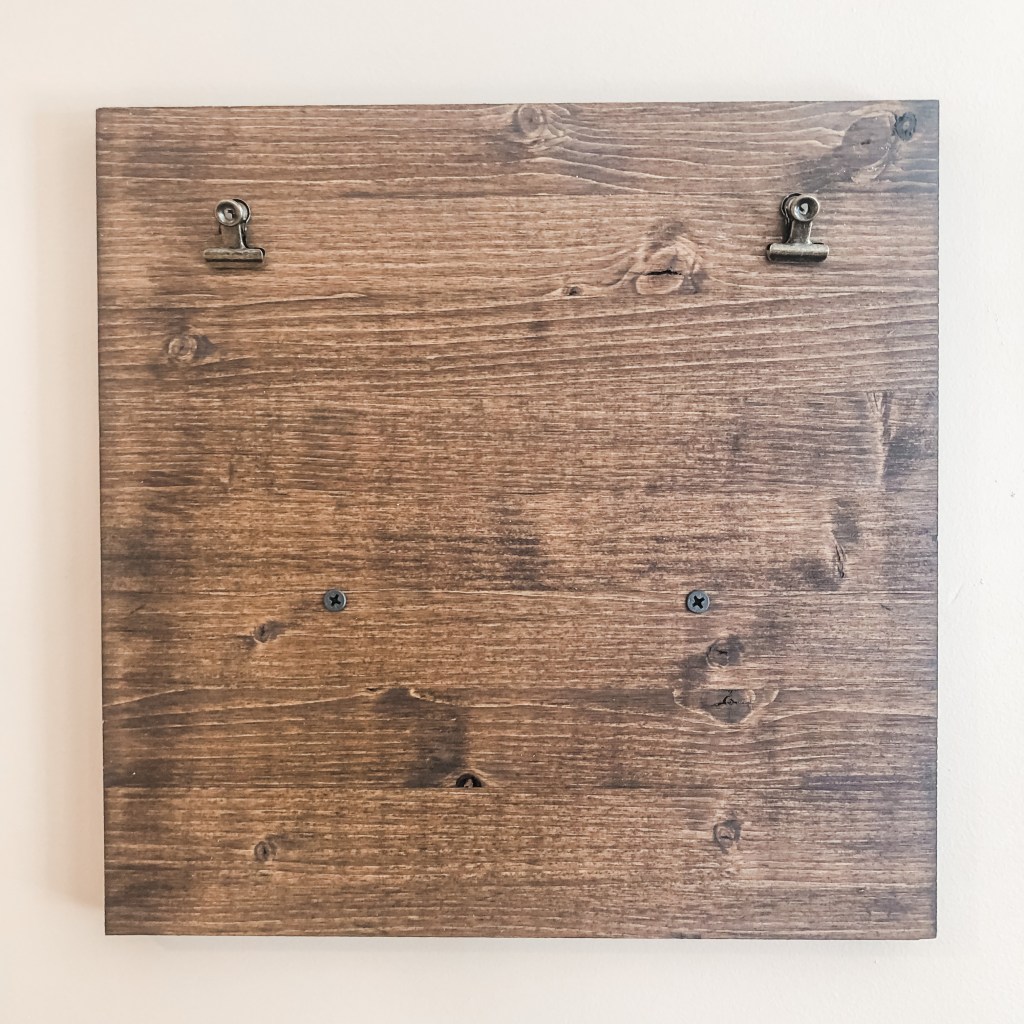
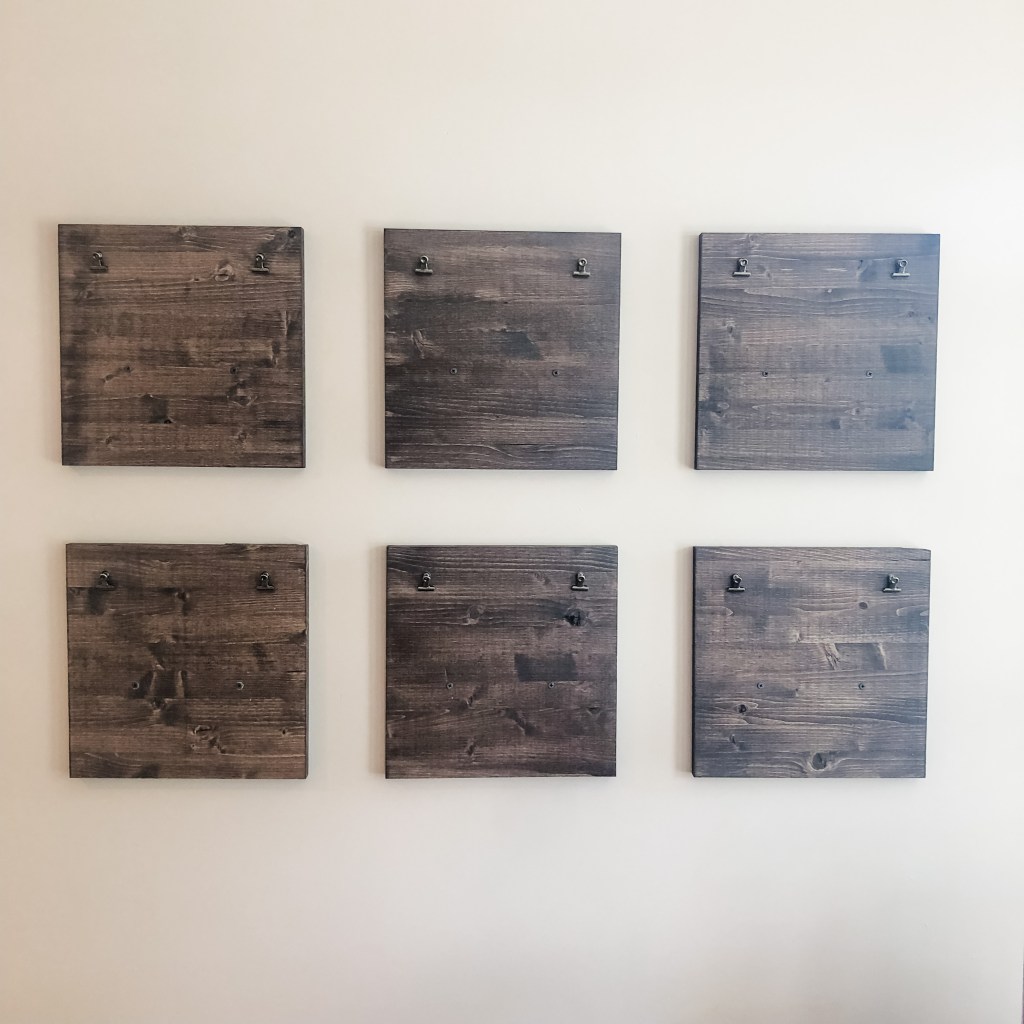
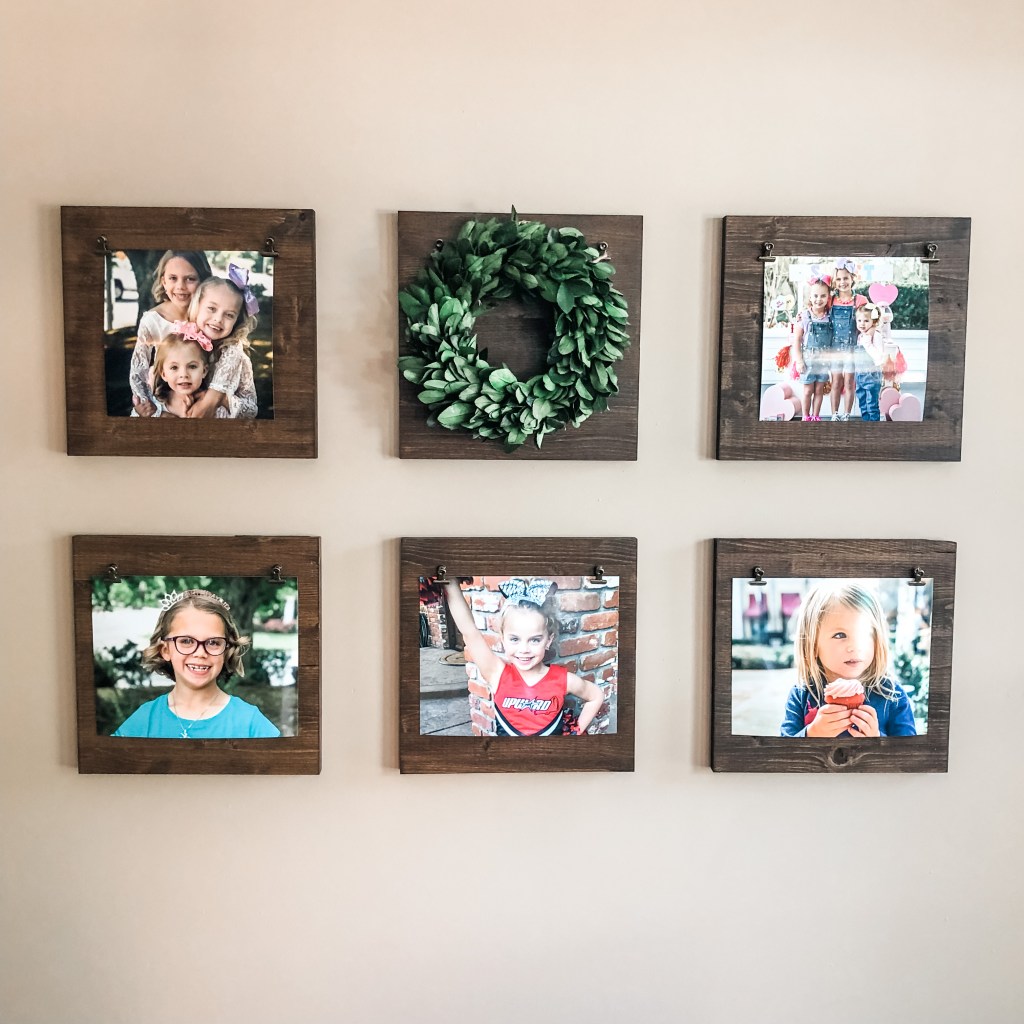
My husband and I got to talking and we came up with an idea of making our own frames. I wanted something that would fit the rustic farmhouse vibe we already had and would also warm up the space. I also wanted to easily change out photos without unhooking frames and opening them up. With those things in mind, we decided on stained wooded frames. A light bulb went off and I suggested bulldog clips to hold the photos up. We wanted to have a grouping of frames to make it feel like a collection. It made sense to do 6 frames. We are the blessed parents of 3 girls. One frame for each of our little ladies in one row and 3 more to double it up for the second row.
I wanted to be able to hang 8 x 10 photos on the frames, so we decided on a 12 x 12 square frame, so that there would be plenty of border on each side. The clips are readily available on Amazon. With our Prime account, I had 100 Bulldog Clips at my door the very next day. The quality of the clips was excellent and it left us many many more for future projects.
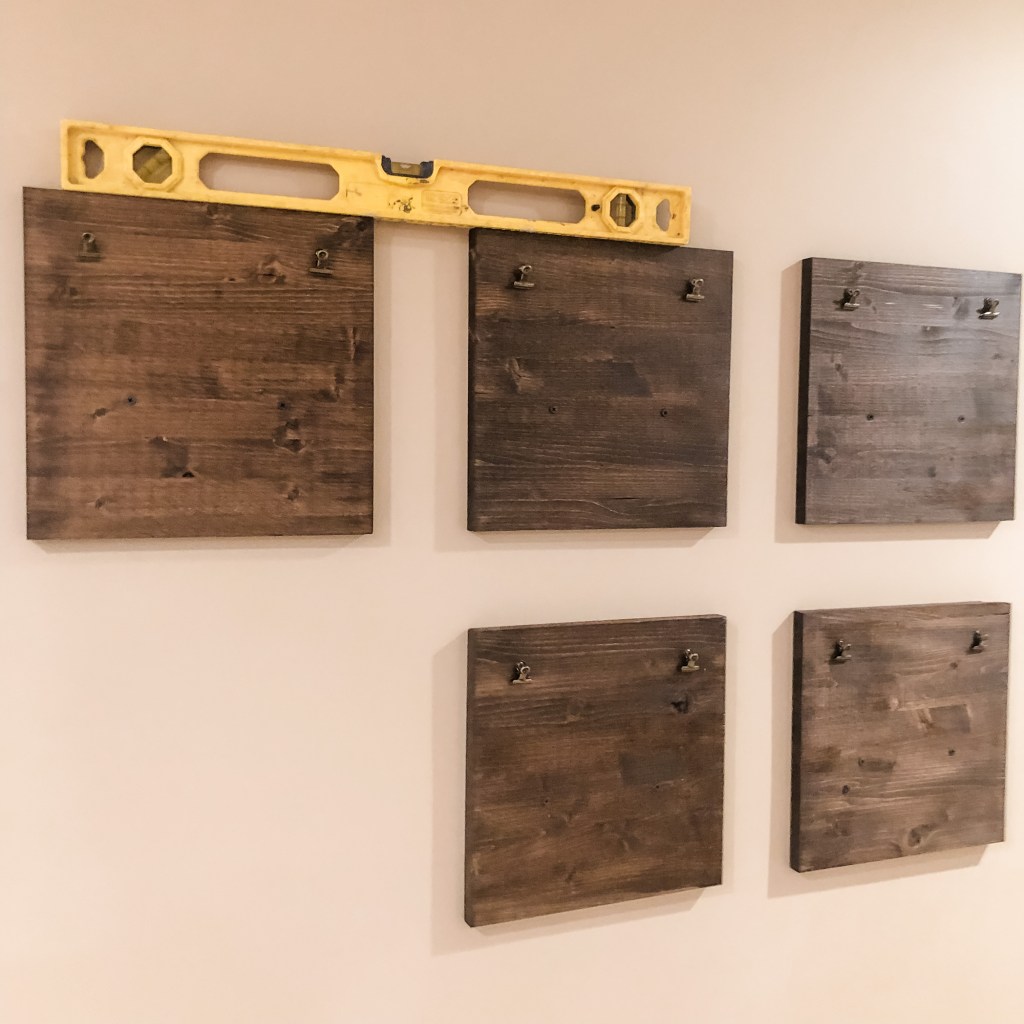
My husband bought the prepared wood from Lowe’s and cut them down for me. I stained them with our trusty Minwax Wood Finish in Special Walnut. I loved the look of the frames once they were stained. Imperfections in the wood showed through the stain and each one took the stain a little differently. They definitely didn’t have the feel of a commercially available mass-produced frame. That was exactly what we were going for. Once the wood was dry, we attached the clips and had them on the wall within minutes.
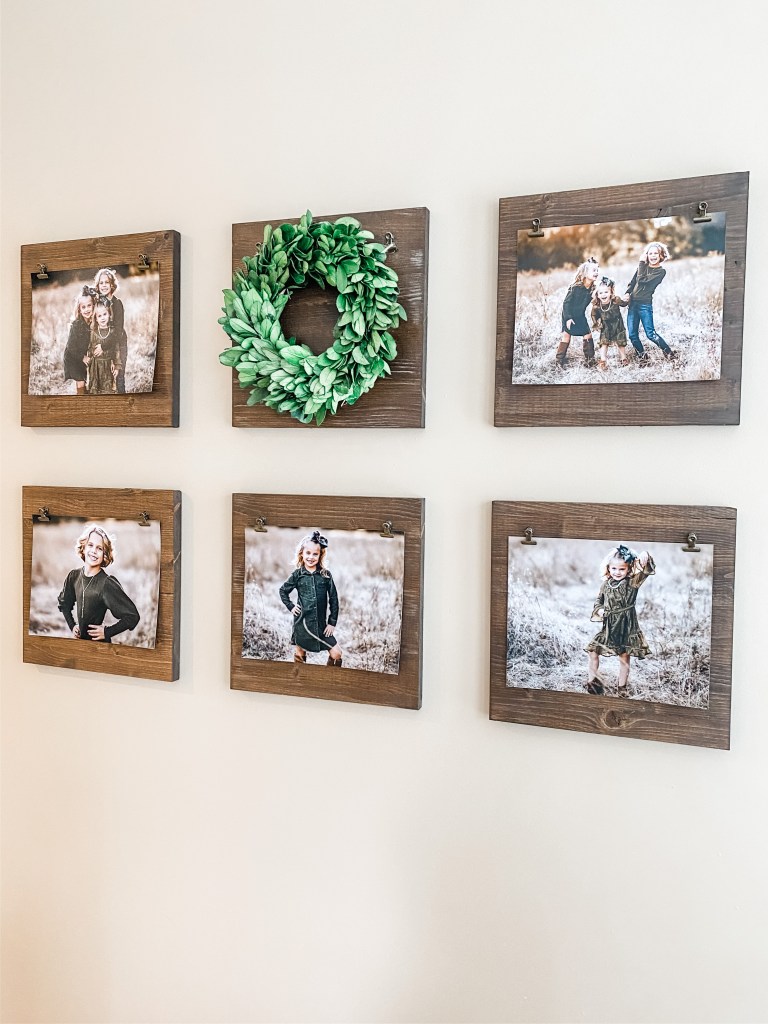
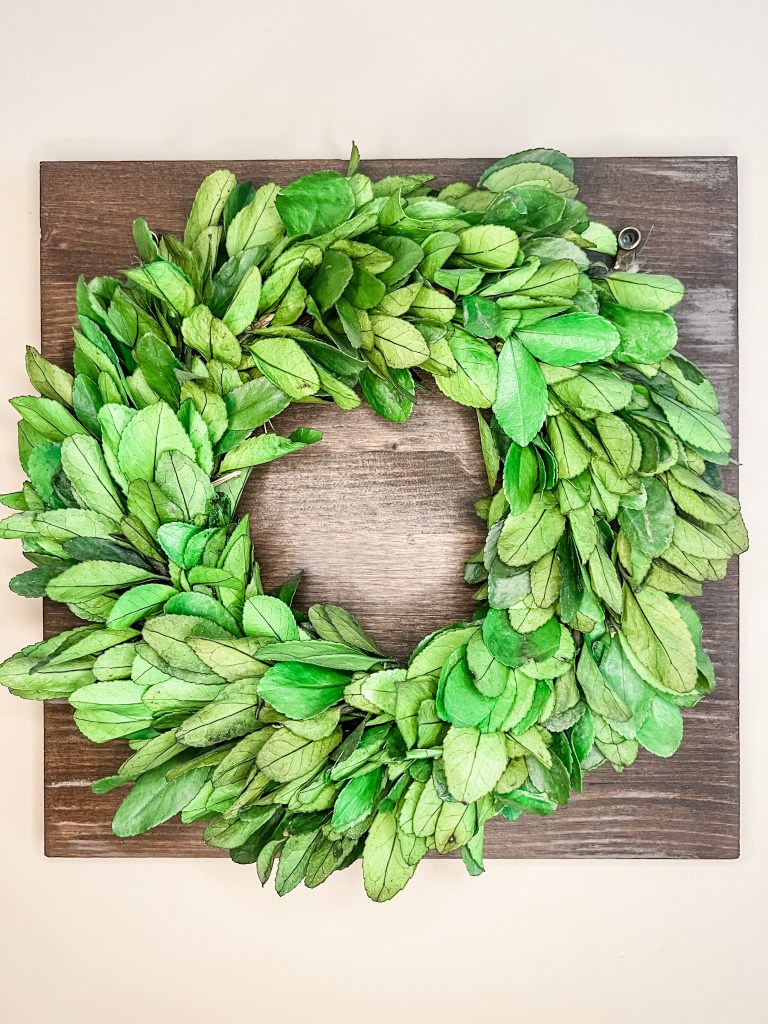
I set aside one frame for a solo shot of each of our girls and loved the idea of a couple group photos as well. I decided to break up the pictures and give the space a little more customization with a preserved Boxwood wreath in the top center frame.
This was such an easy project that brought so much character to an otherwise empty space. I’m so thankful that I trusted my gut and decided to do something totally different from what occupied the space before. One thing I love so much about this, is that I can easily swap out photos. We had new family photos taken in the Fall and I was able to put up my favorite so easily. I love how this space can be easily transformed as my kids grow.