
The kitchen remodel is our current project. We are well underway. Several weeks in. We’re experiencing the exciting part. The time when things are going back in instead of coming out. Awesome! It is incredible to see your dreams coming true right before your eyes. I’ve had nightmares in the last few weeks about the kitchen. Cabinets rolling in the door, half broken and a total mess. Not anything like we’d envisioned. Other bad dreams included installed cabinets that were too snug in our space and a horribly divided kitchen.
By the grace of God, the cabinets went in and the flow is natural and open. The space looks incredible and it is so functional. I’m so happy that I could cry. The kitchen is what actually spurred me on to write in the first place. I’ve been toying with the idea of a blog for a long time and this has been my catalyst. I feel proud of what we’ve accomplished thus far and I feel strongly that our design is going to be everything we’ve ever wanted and more.
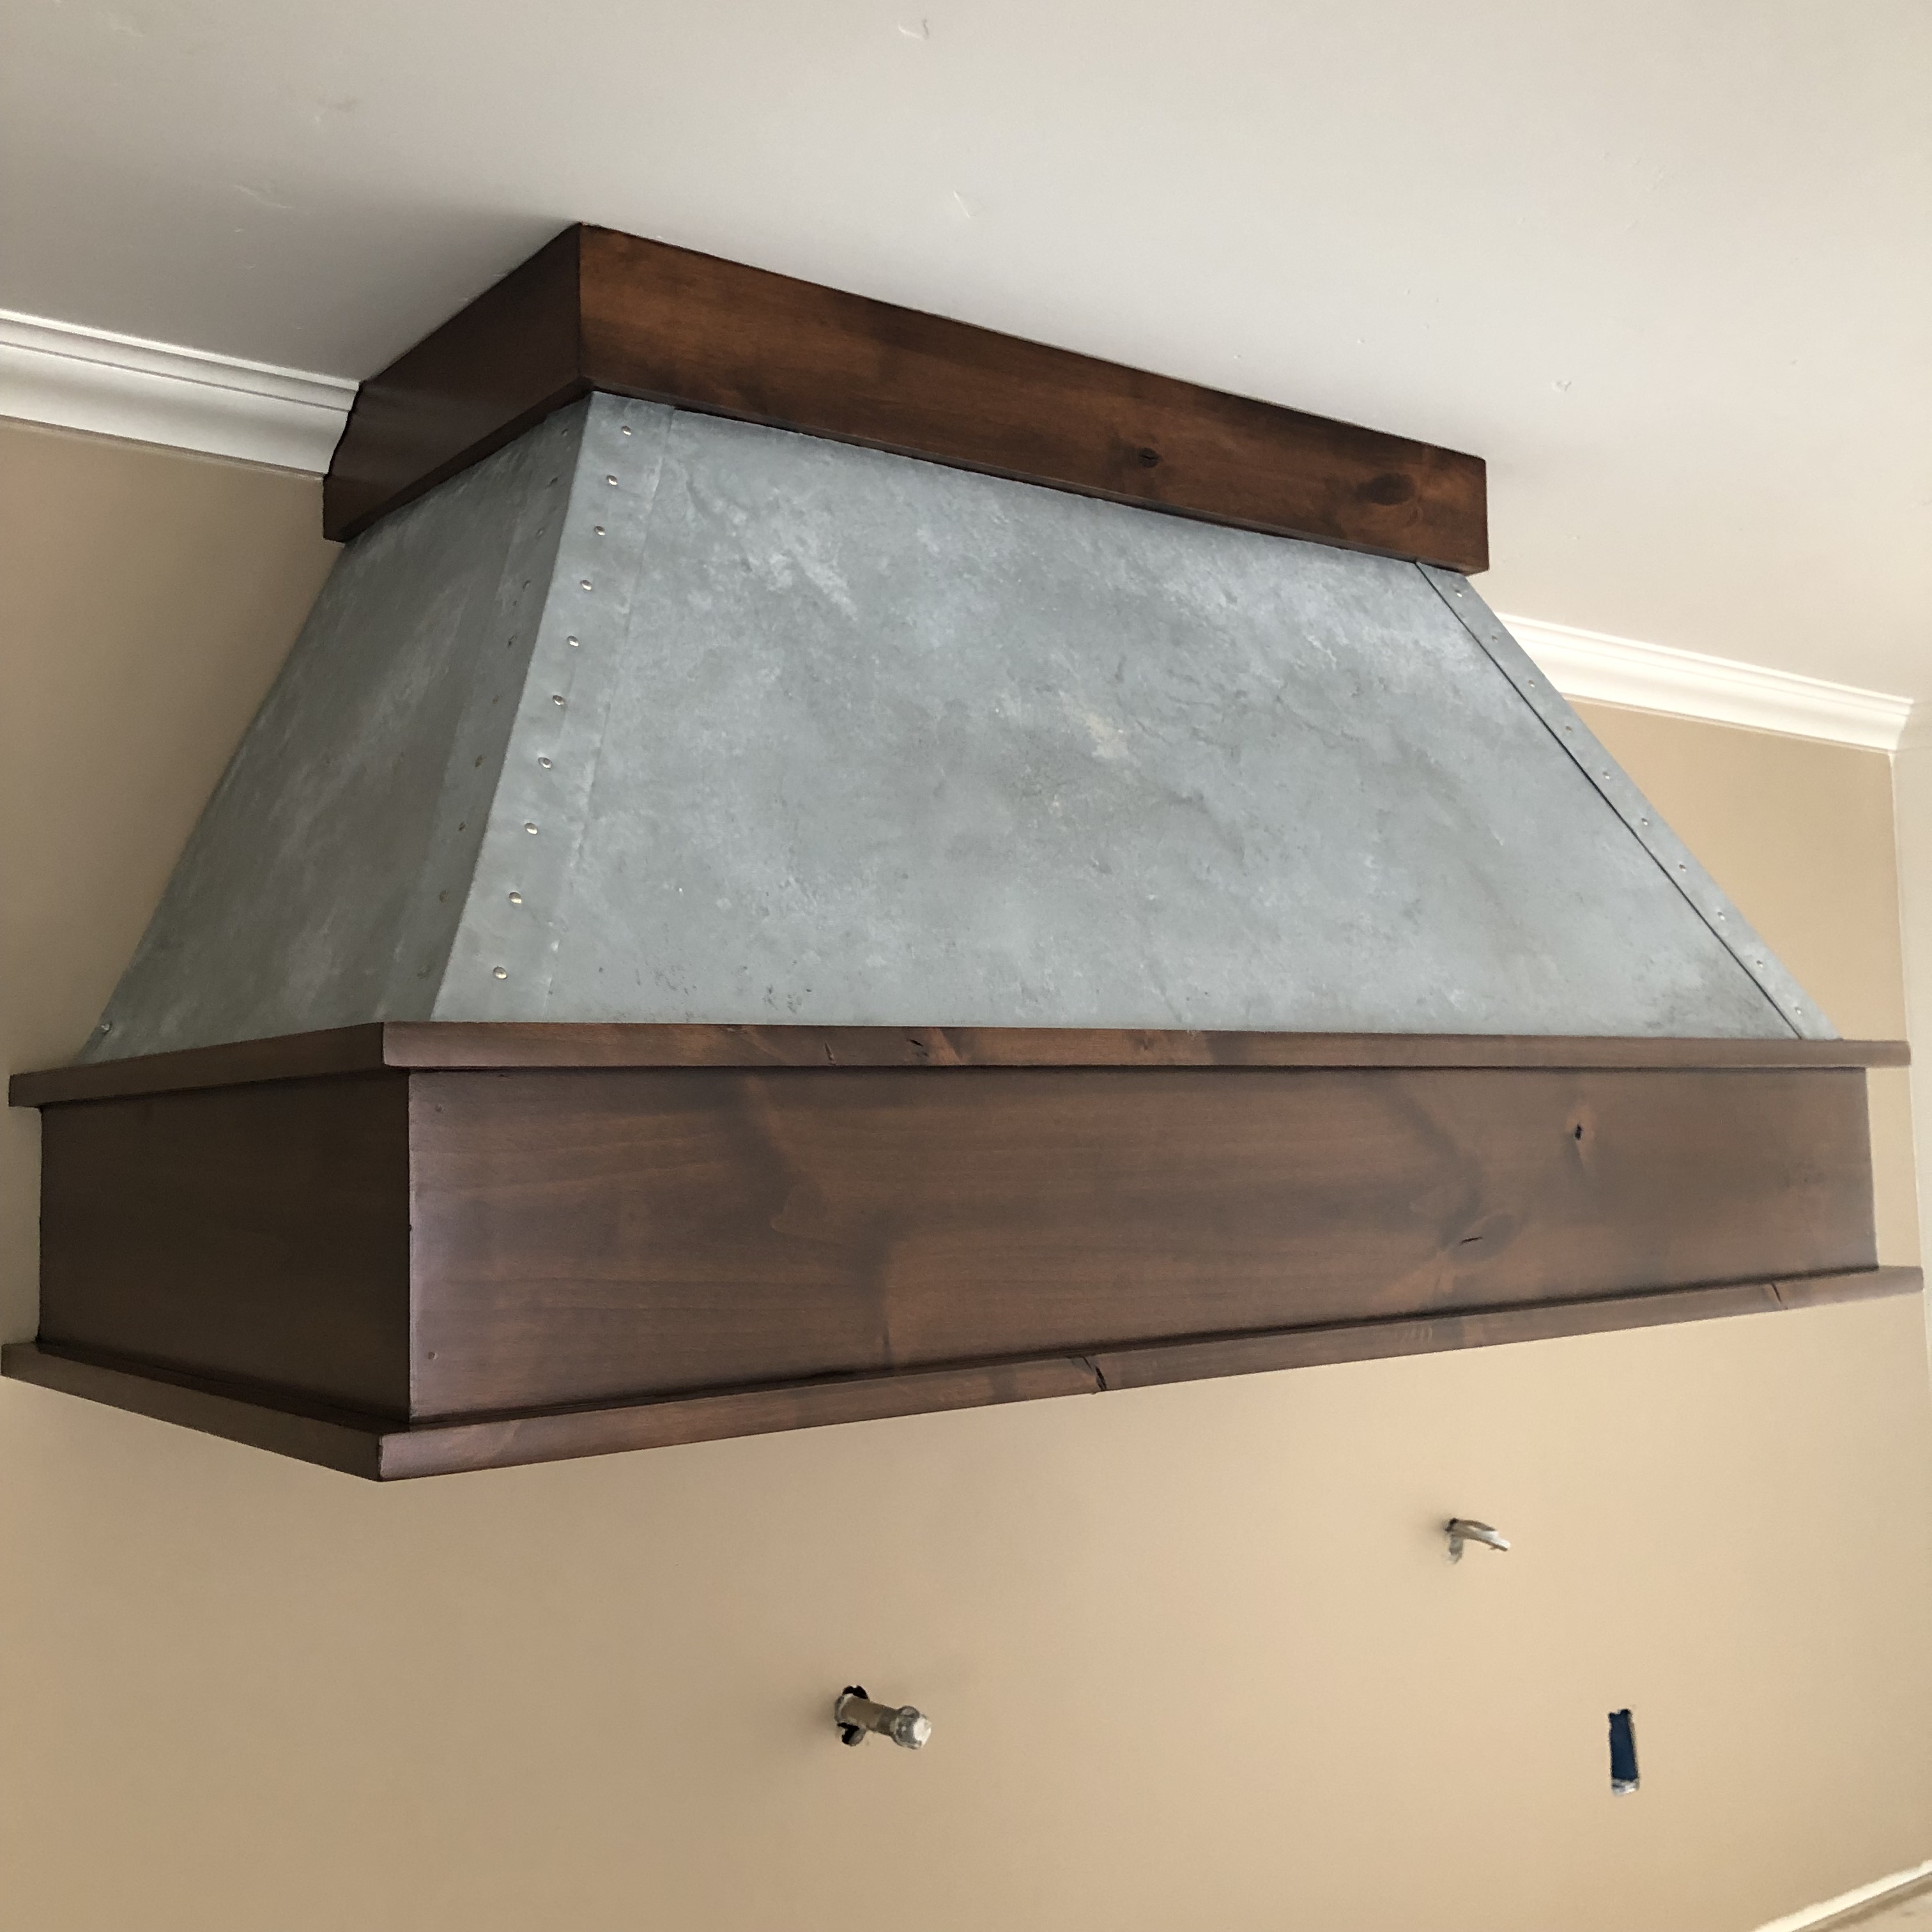
We’ve worked hard with our contractor and all of his subs to put together an awesome kitchen. We are still weeks away from completion, but things are moving right along. The vent hood cover was something that I’ve been toying with for a while. I wanted something unique. We talked the idea over with our cabinet maker and he agreed that he could build us exactly what we wanted. I didn’t want it to be all one material. I wanted it to be rustic, industrial, and one-of-a-kind. Our painters found us the exact stain we wanted and we were thrilled with the top and bottom bands in the stain. I had thought that metal would be a nice contrast to the stained wood. We are planning on stained open shelving to the left and right of the hood, so I wanted something other than wood.
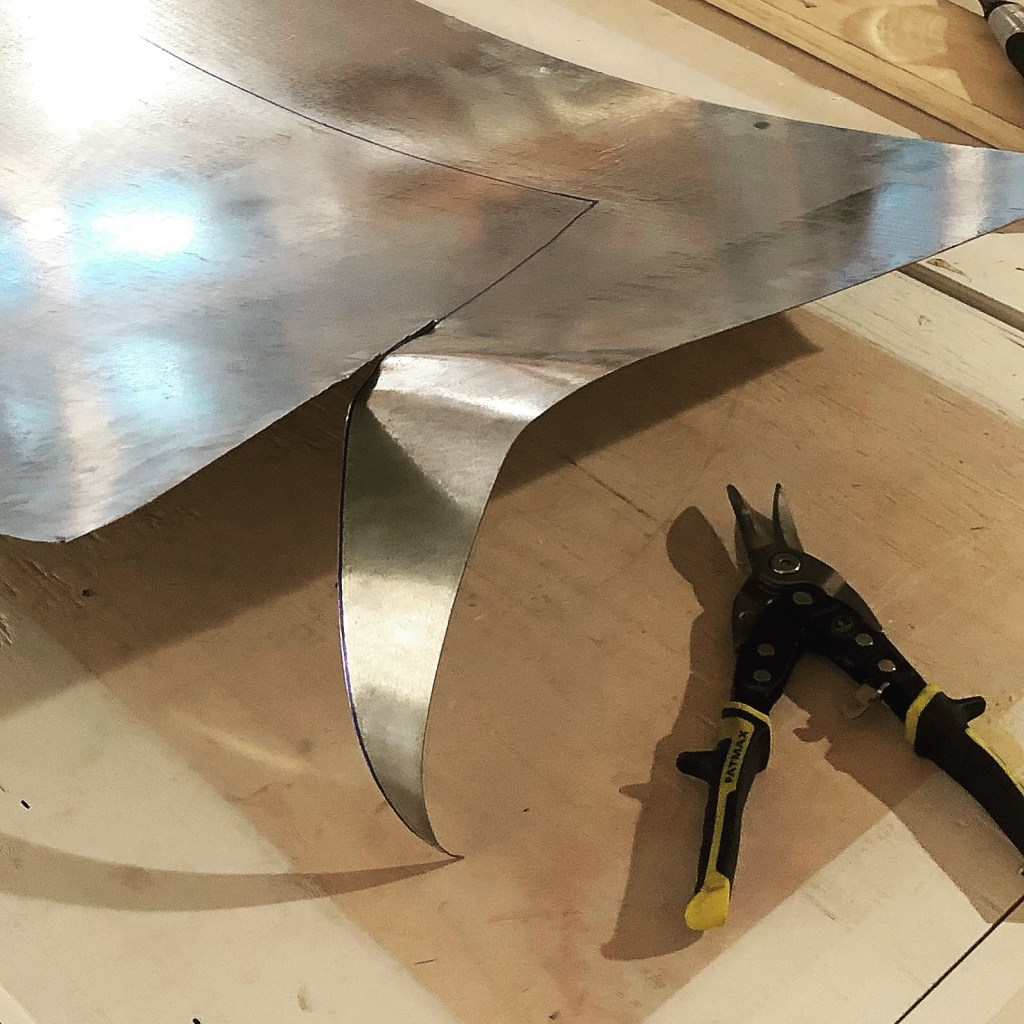
I came across a few photos of metal hoods and loved the look. We decided to move forward with a galvanized metal and wood hood vent cover. We shopped at Lowe’s Home Improvement for the metal and we were able to find exactly what we needed. We chose the shiny galvanized sheet metal for our transformation.
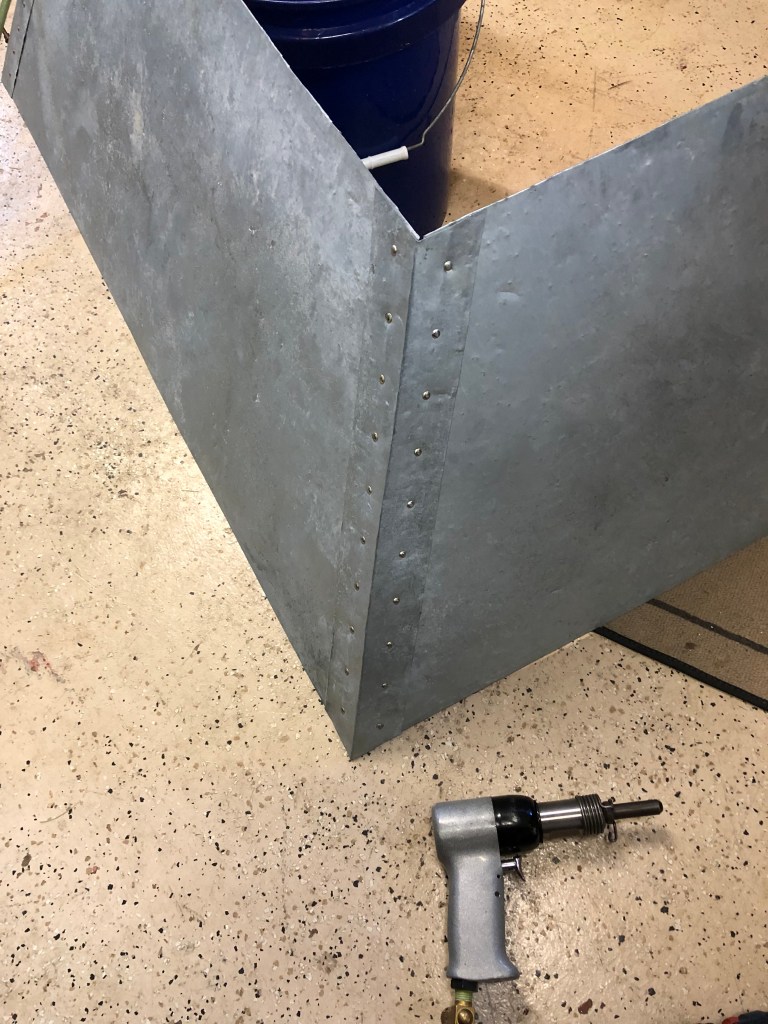
We created a template for the vent hood with a roll of old wallpaper. We put the wallpaper up and drew out the design of the template in three main sections. This allowed us to work in small areas and not on the entire hood vent cover at the same time. Kevin also used the scrap pieces to create a corner piece for each of the front angles of the vent hood. These would be the pieces that held the entire hood together. See pics below for a visual. Once we had the template cut out, we had to decide how we were going to get the rustic look we were after.
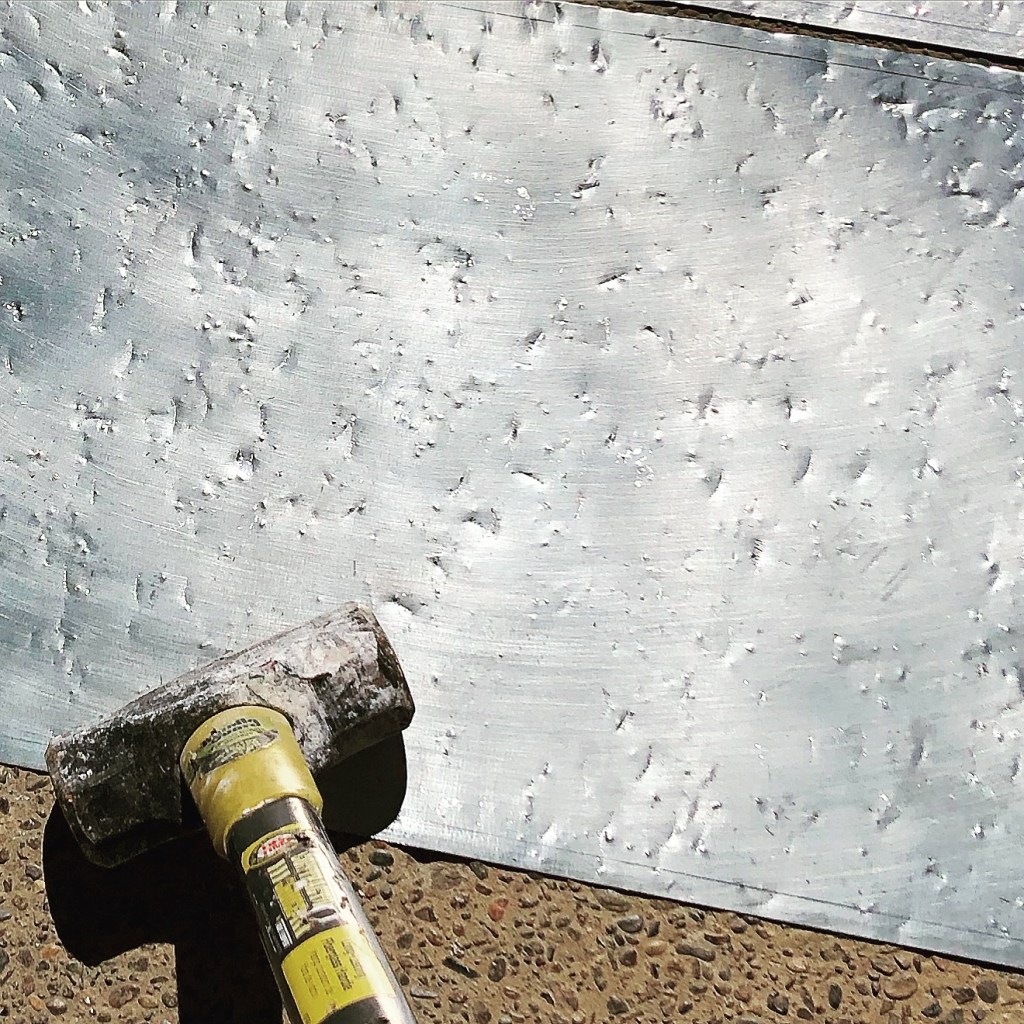
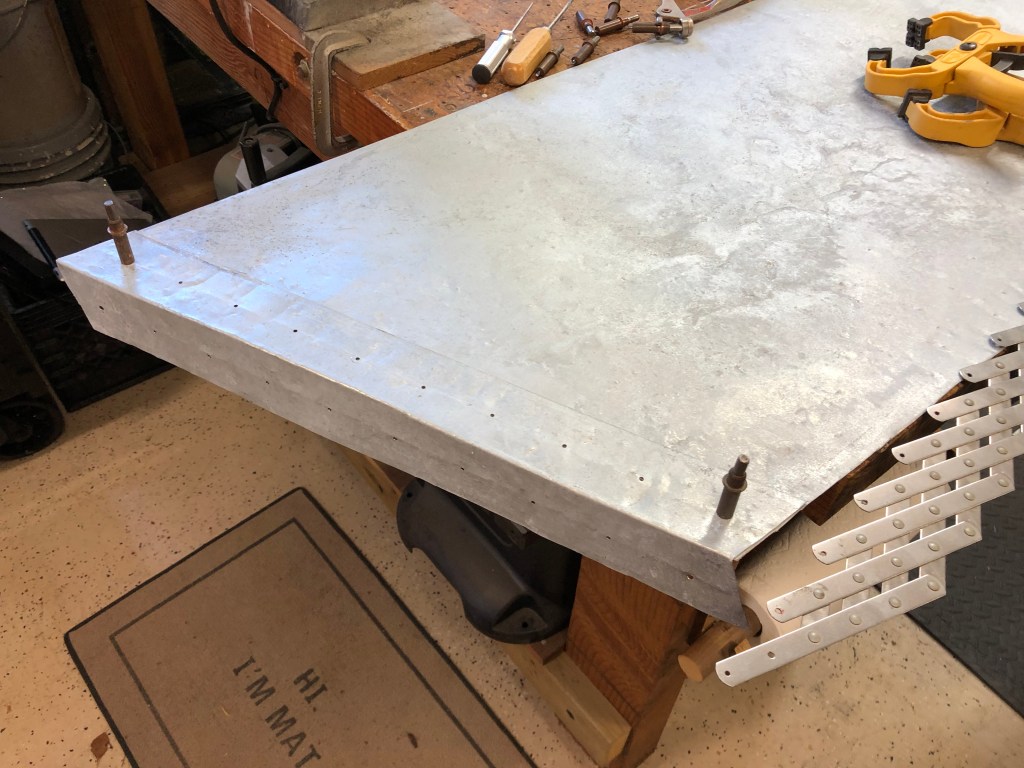
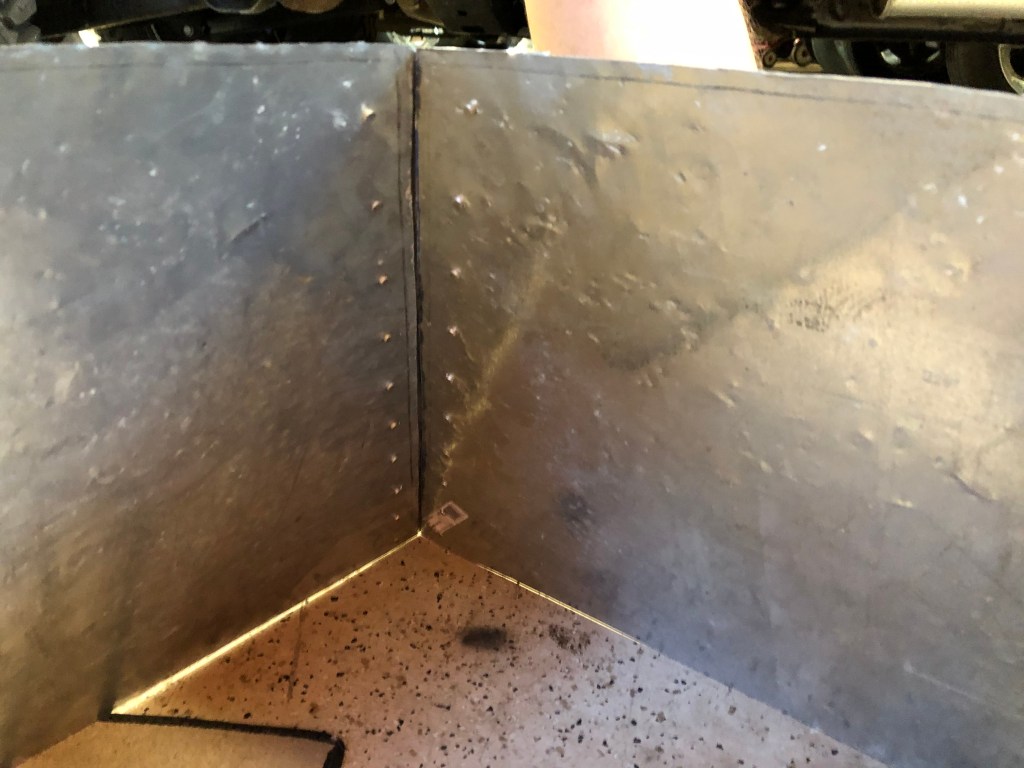
The first order of business was to rough up the surface. I didn’t want to sand or buff it and create circles, so we laid the metal out on our exposed aggregate concrete and hit it with the head of a mallet. We got an awesome random distressed look over all of the pieces. Next, I hit the metal with a sprayed on coat of vinegar. I let that dry in the sun for about a half an hour. The next step was a sprayed on mixture of salt and peroxide. That dried for about thirty minutes as well. I then sprayed both the vinegar and peroxide mixture over the metal a few more times and let it dry in the sun. That dried for about another thirty minutes and we had our finished product. The shine had disappeared and it had the distressed, weathered look I was after. Jackpot!

We had all of the pieces cut and ready to rock and the finish was spot on. The last thing we needed to do was piece it together. We didn’t want to attach it individually to the hood, but rather in one big piece. I also had dreamed of some rivets on this hood to give it more of a rustic industrial look. Lucky for us, my father-in-law is a pilot and has built one and is in the process of building his second sport plane. The tools we needed were at our fingertips and I am aware of how fortunate we are for that. We borrowed his pneumatic rivet hammer and his bucking bar and my husband went to town, bucking rivets. Check out some of the tools we used below. Just as he had as a child, helping his dad build the first plane. The two front corner pieces hold each of the side panels on with a row of rivets, one column of rivets down the front, and one down the side, evenly spaced. The metal cover is one solid piece that we can take on or off if we need to. For now, we’ve attached it with a screw on each side and we’ll make sure it’s secured once we get the vent in.
We are thrilled with the final result. Rustic, weathered, beautiful and one-of-a-kind. I am in love with the way the metal turned out. We got an aged look on it in a few short hours. The rivet detailing also adds a fun feature to the cover without going overboard. It’s the right touch to make this cover unique and charming. I can’t wait to get our range in there and start cooking away! What a fun project for us to work together on!


As an Amazon Associate, I earn from qualifying purchases. I get commissions for purchases made through links in my posts.
